


Trigonometry for Game Programming – SpriteKit and Swift Tutorial: Part 2/2
Learn trigonometry for game programming using SpriteKit and Swift. You will learn the theory and then practice using trigonometry by making a space shooter game! By Bill Morefield.
Spinning the Asteroid Around Its Axis
You can also make the asteroid spin around its axis. Add the following line to the end of updateOrbiter(_:):
orbiterSprite.zRotation = orbiterAngle * degreesToRadians
By setting the rotation to orbiterAngle, the asteroid always stays oriented in the same position relative to the cannon, much like the Moon always shows the same side to the Earth.
Detecting Collision Between Missile and Orbiter
Let’s give the orbiter a purpose. If the missile comes too close, the asteroid will destroy it before it gets a chance to do any damage to the cannon. Add the following method:
func checkMissileOrbiterCollision() {
  guard !playerMissileSprite.isHidden else { return }

  let deltaX = playerMissileSprite.position.x - orbiterSprite.position.x
  let deltaY = playerMissileSprite.position.y - orbiterSprite.position.y

  let distance = sqrt(deltaX * deltaX + deltaY * deltaY)
  guard distance < orbiterCollisionRadius + playerMissileRadius else { return }

  playerMissileSprite.isHidden = true
  playerMissileSprite.removeAllActions()

  orbiterSprite.setScale(2)
  orbiterSprite.run(SKAction.scale(to: 1, duration: 0.5))
}
And don't forget to a call to checkMissileOrbiterCollision() at the end of update(_:):
checkMissileOrbiterCollision()
This should look pretty familiar. It's basically the same thing as checkMissileCannonCollision(). When the collision is detected, the missile sprite is removed. This time, you don't play a sound. But as an added visual flourish, you increase the size of the asteroid sprite by two times. Then, you immediately animate the asteroid scaling back down again. This makes it look like the orbiting asteroid “ate” the missile!
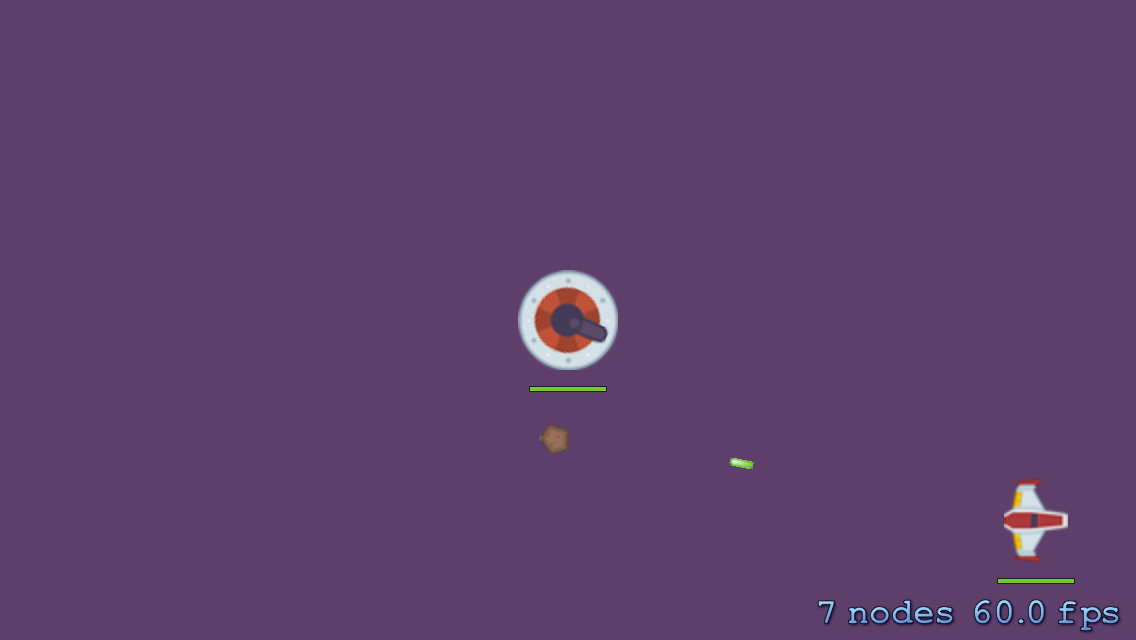
Build and run to see your new orbiting shield in action.
Game Over, With Trig!
There is still more that you can do with sines and cosines. They also come in handy for animations.
A good place to demo such an animation is the game over screen. Add the following constant to the top of GameScene.swift:
let darkenOpacity: CGFloat = 0.8
And add a few properties to GameScene:
lazy var darkenLayer: SKSpriteNode = {
  let color = UIColor(red: 0, green: 0, blue: 0, alpha: 1)
  let node = SKSpriteNode(color: color, size: size)
  node.alpha = 0
  node.position = CGPoint(x: size.width/2, y: size.height/2)
  return node
}()

lazy var gameOverLabel: SKLabelNode = {
  let node = SKLabelNode(fontNamed: "Helvetica")
  node.fontSize = 24
  node.position = CGPoint(x: size.width/2 + 0.5, y: size.height/2 + 50)
  return node
}()

var gameOver = false
var gameOverElapsed: CFTimeInterval = 0
You'll use these properties to keep track of the game state and the nodes to show the "Game Over" information.
Next, add this method to GameScene:
func checkGameOver(_ dt: CFTimeInterval) {
  // 1
  guard playerHP <= 0 || cannonHP <= 0 else { return }

  if !gameOver {
    // 2
    gameOver = true
    gameOverElapsed = 0
    stopMonitoringAcceleration()

    // 3
    addChild(darkenLayer)

    // 4
    let text = (playerHP == 0) ? "GAME OVER" : "Victory!"
    gameOverLabel.text = text
    addChild(gameOverLabel)
    return
  }

  // 5
  darkenLayer.alpha = min(darkenOpacity, darkenLayer.alpha + CGFloat(dt))
}
This method checks whether the game is done, and if so, handles the game over animation:
- The game keeps on going until either the player or cannon run out of health points.
- When the game is over, you set
gameOverto true, and disable the accelerometer. - Add a new black color layer on top of everything else. Later in the method, you'll animate the alpha value of this layer so that it appears to fade in.
- Add a new text label and place it on the screen. The text is either “Victory!” if the player won or “Game Over” if the player lost, determined based on the player's health points.
- The above steps only happen once to set up the game over screen – every time after that, you animate
darkenOpacity's alpha from 0 to 0.8 – almost completely opaque, but not quite.
Add a call to checkGameOver(_:) at the bottom of update(_:):
checkGameOver(deltaTime)
And add a small snippet of logic to the top of touchesEnded(_:with:):
guard !gameOver else {
  let scene = GameScene(size: size)
  let reveal = SKTransition.flipHorizontal(withDuration: 1)
  view?.presentScene(scene, transition: reveal)
  return
}
This restarts the game when the user taps on the game over screen.
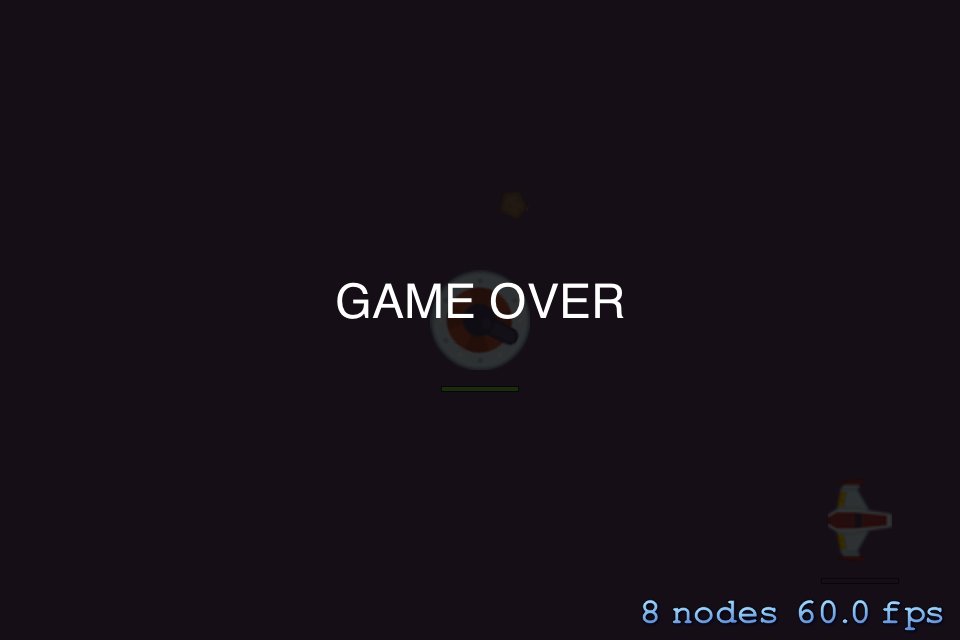
Build and run to try it out. Shoot at the cannon or collide your ship with it until one of you runs out of health. The screen will fade to black and the game over text will appear. The game no longer responds to the accelerometer, but the animations keep going:
This is all fine and dandy, but where are the sine and cosines? As you may have noticed, the fade in animation of the black layer was very linear. It just goes from transparent to opaque at a consistent rate.
You can do better than this — you can use sin() to alter the timing of the fade. This is known as easing and the effect you will apply here is known as an ease out.
run() to do the alpha fade, as it supports various easing modes. Again, the purpose of this tutorial is not to learn SpriteKit; it's to learn the math behind it, including easing!Add a new constant at the top of GameScene.swift:
let darkenDuration: CFTimeInterval = 2
Next, replace the last line of code in checkGameOver(_:) with the following:
gameOverElapsed += dt
if gameOverElapsed < darkenDuration {
  var multiplier = CGFloat(gameOverElapsed / darkenDuration)
  multiplier = sin(multiplier * CGFloat.pi / 2) // ease out
  darkenLayer.alpha = darkenOpacity * multiplier
}
The gameOverElapsed keeps track of how much time has passed since the game ended. It takes two seconds to fade in the black layer (darkenDuration). The multiplier determines how much of that duration has passed by. It always has a value between 0.0 and 1.0, regardless of how long darkenDuration really is.
Then you perform the magic trick:
multiplier = sin(multiplier * CGFloat.pi / 2) // ease out
This converts multiplier from a linear interpolation into one that breathes a bit more life into things:

Build and run to see the new “ease out” effect. If you find it hard to see the difference, try it with the “ease out” line commented out or change the duration of the animation. The effect is subtle, but it's there.
cannonHP to 10 so you can end the game with a single shot.Easing is a subtle effect, so let's wrap up with a much more obvious bounce effect — because things that bounce are always more fun!
Add the following code to the end of checkGameOver(_:):
// label position
let y = abs(cos(CGFloat(gameOverElapsed) * 3)) * 50
gameOverLabel.position = CGPoint(x: gameOverLabel.position.x, y: size.height/2 + y)
OK, what's happening here? Recall what a cosine looks like:

If you take the absolute value of cos() – using abs() – then the section that would previously go below zero is flipped. The curve already looks like something that bounces, don’t you think?
Because the output of these functions lies between 0.0 and 1.0, you multiply it by 50 to stretch it out to 0-50. The argument to cos() is normally an angle, but you’re giving it the gameOverElapsed time to make the cosine move forward through its curve.
The factor of 3 is just to make it go a bit faster. You can tinker with these values until you have something that you think looks cool.
Build and run to check out the bouncing text:
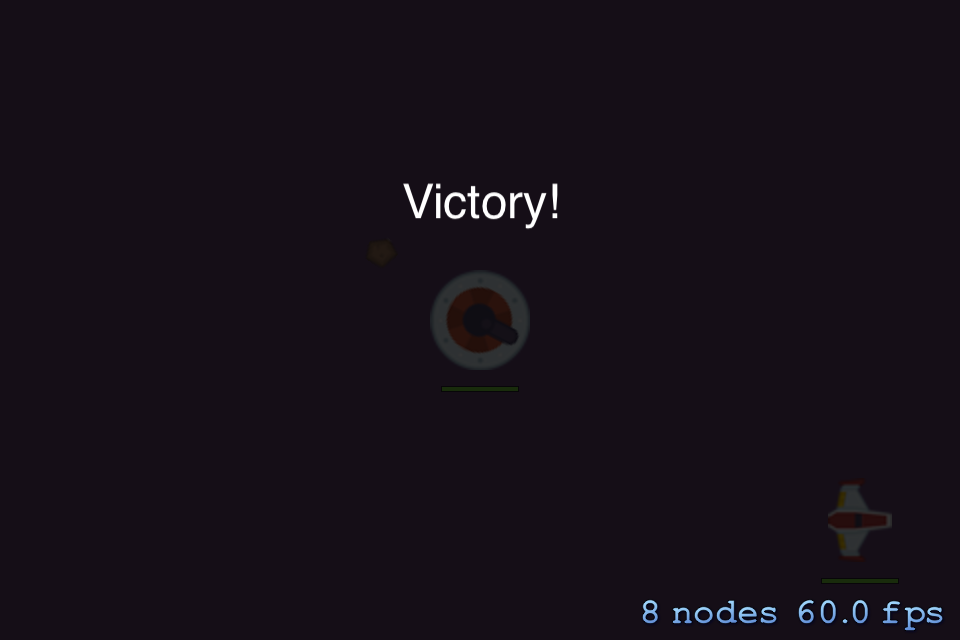
You've used the shape of the cosine to describe the bouncing motion of the text label. These cosines are useful for all sorts of things!
One last thing you can do is let the bouncing motion lose amplitude over time. You do this by adding a damping factor. Create a new property in GameScene:
var gameOverDampen: CGFloat = 0
The idea here is when the game ends, you'll need to reset this value to 1.0 so the damping takes effect. Over time as the text bounces, the damping will slowly fade off to 0 again.
In checkGameOver(_:), add the following right after you set gameOver to true:
gameOverDampen = 1
Replace the code underneath // label position with the following:
let y = abs(cos(CGFloat(gameOverElapsed) * 3)) * 50 * gameOverDampen
gameOverDampen = max(0, gameOverDampen - 0.3 * CGFloat(dt))
gameOverLabel.position = CGPoint(x: gameOverLabel.position.x, y: size.height/2 + y)
It’s mostly the same as before. You multiply the y-value by the damping factor. Then, reduce the damping factor slowly from 1.0 back to 0.0, but never less than 0. That’s what the max() prevents. Build and run, then try it out!